 Photo from Pexels
Originally Posted On: https://buildcorpdirect.com/blog/how-do-you-apply-acoustic-sealant-a-complete-step-by-step-guide-for-beginners/
Acoustic sealant fills gaps and cracks to stop sound leaks in walls, floors, and ceilings. It stays flexible so it blocks noise even as materials shift. You can apply it with a standard caulking gun in a few simple steps.
What Is Acoustic Sealant and Why Does It Matter?
Acoustic sealant is a flexible, sound-dampening caulk that seals gaps where noise escapes. It reduces sound transfer in drywall assemblies, door frames, electrical boxes, and floor systems. Products like the USG Acoustical Sealant (29 oz tube) are designed to stay soft so they keep absorbing vibration over time.
Why it matters:
● Even small gaps allow noise to travel
● A full seal improves the overall sound rating of the room
● It’s one of the easiest soundproofing steps for beginners
Acoustic sealant blocks sound leaks by sealing gaps in building materials.
What Tools and Materials Do You Need Before You Start?
Before applying acoustic sealant, gather a few basic tools. You won’t need anything complicated.
You Will Need:
● Acoustic sealant
● Caulking gun (manual or heavy-duty)
● Utility knife
● Painter’s tape (optional)
● Gloves
● Clean cloth or paper towels
● Mild cleaner or rubbing alcohol
Optional for better results:
● Putty knife for smoothing
● Vacuum to remove dust
A caulking gun, utility knife, cleaning cloths, and your sealant are the essentials.
How Should You Prepare the Surface Before Applying Acoustic Sealant?
Proper preparation ensures the sealant bonds well and performs long-term.
Follow these simple steps:
- Clean the surface. Remove dust, debris, and loose materials.
- Dry the area. Sealant sticks best to dry surfaces.
- Remove old caulk if present. Cut it away with a utility knife.
- Mask edges with painter’s tape if you want a clean line.
Tips for beginners:
● Avoid applying sealant over wet or oily surfaces
● Work in a well-lit area so you can see small gaps
Clean, dry surfaces help the sealant adhere and increase long-term performance.
How Do You Load and Prepare the Tube of Acoustic Sealant?
If you’re new to caulking guns, don’t worry. Loading a sealant tube is simple.
Steps to load the tube:
- Pull back the plunger on the caulking gun
- Insert the acoustic sealant tube
- Cut the tip of the nozzle at a 45° angle
- Puncture the inner foil seal if needed
- Squeeze gently until sealant appears a the tip
Tip: A smaller cut creates a thin bead. A larger cut fills wider gaps.
Properly cutting the nozzle and priming the tube gives you smooth control.
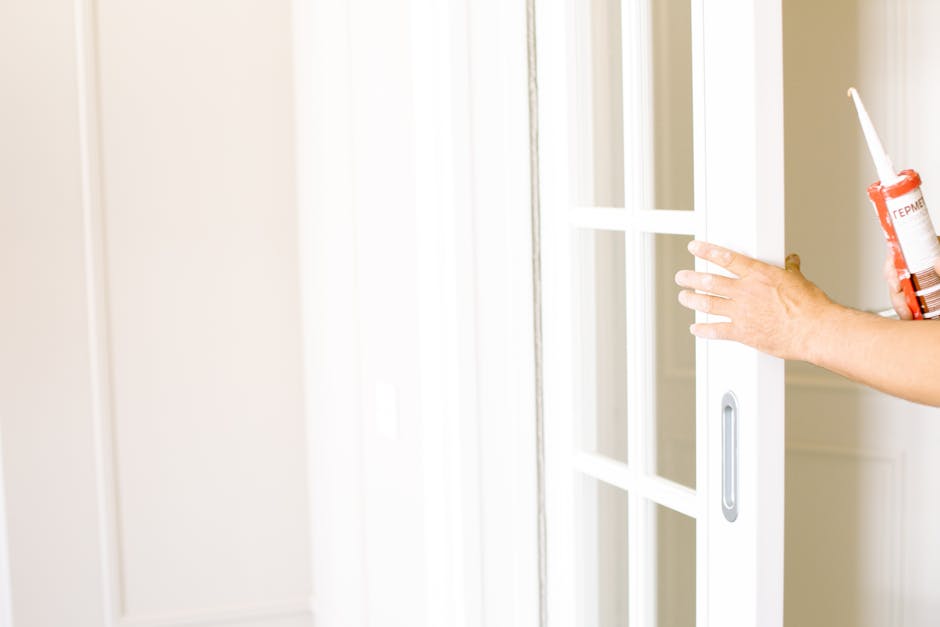
How Do You Apply Acoustic Sealant to Gaps and Joints?
This is the main step, and it’s where beginners often gain confidence quickly.
Apply the sealant:
- Hold the gun at a 45° angle
- Press the trigger slowly and evenly
- Move the gun along the gap steadily
- Fill the entire joint with a continuous bead
- Avoid stopping mid-line to keep a clean finish
Where to use acoustic sealant:
● Wall and ceiling joints
● Seams between drywall sheets
● Electrical box edges
● Around windows and doors
● Floor and sill plate connections
What NOT to do:
● Do not apply in direct water exposure
● Do not paint over uncured sealant
Apply an even, continuous bead to fully seal gaps and prevent sound leaks.
How Do You Smooth and Finish the Sealant Bead?
Smoothing helps the sealant bond better and look cleaner.
To smooth the bead:
- Lightly wet your finger or use a putty knife
- Glide along the bead with even pressure
- Wipe away extra sealant immediately
Why smoothing matters:
● It pushes sealant deeper into the gap
● It improves long-term durability
● It gives a cleaner finish around corners
Smoothing improves appearance and strengthens the seal.
How Long Does Acoustic Sealant Take to Cure?
Cure time varies based on humidity and temperature, but most acoustic sealants skin over within minutes and cure within 48 hours.
General curing guidelines:
● Avoid touching the sealant for several hours
● Avoid painting until fully dry
● Keep dust away from fresh sealant
● Allow full cure for best sound performance
Give the sealant time to cure for strong, long-lasting noise reduction.
What Should Beginners Remember Most?
Applying acoustic sealant is an easy and effective soundproofing step. Clean the area, load the tube correctly, apply a smooth bead, and allow full cure time. When used with quality products like USG Acoustic Sealant, you’ll improve noise control in any room.
If you need professional-grade sealant, tools, or guidance, Buildcorp Direct has everything you need for your next project.